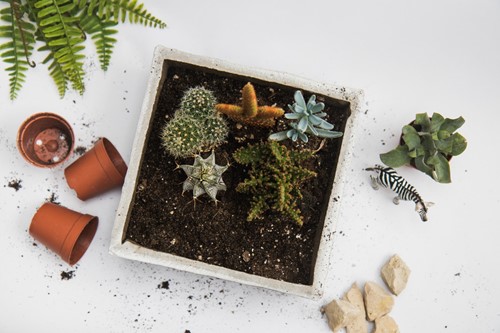
DIY concrete projects are a great way to increase your home improvement skills, while providing meaningful concrete crafts that could help you stay organized for years to come. However, concrete DIY projects can often seem daunting, but they can be as easy as any other DIY project.
For example, try turning an old cardboard box into a custom DIY concrete planter for your garden. Using just a few basic materials, you can create a durable planter box while getting second use out of an otherwise recycled item. Here is a guide to making your own DIY concrete planter box:
Now you have your own custom-made DIY concrete planter for your porch or garden. You can repeat this same process with any size or shape of cardboard box. Try adding concrete stain or paint for extra customization to match your personal garden decor.
Hi! We are David and Evelyn - The Hickox Team!
With a shared passion for helping people find where you truly belong—whether it’s a dream home or a strategic commercial space—we’ve combined our experience, heart, and hustle to better serve you, as our client across the Chattahoochee Valley.
David brings sharp negotiation skills and market insight, and I bring creative strategy, relationship-driven service, and a love for both Residential and Commercial real estate. Together, we bring a perfect blend of strategy, service, and savvy, to elevate every step of your Real Estate journey.
We believe that real estate is not just about property—it’s about people, purpose, and possibility.
If you’re buying, selling, investing, or just want advice—we’re here for you.
-TheHickoxTeam
Every Home Begins with 'H"
Keller Williams Realty River Cities
Meet David
"When I think of dedication and drive in Real Estate, I think of David Hickox. Not only is David my professional partner, he’s also my fiancé — which means I get a front-row seat to the determination and care he puts into every property detail and client interaction."
-Evelyn Forston
I’m David Hickox—a dedicated real estate advisor serving the Chattahoochee Valley with a focus on results, relationships, and real value. My approach is grounded in strategy, honesty, and a deep respect for the goals and dreams of every client I work with.
With experience in both residential and commercial real estate, I bring sharp market insight, strong negotiation skills, and a calm, solutions-focused mindset to every transaction. Whether you’re buying your first home, selling an investment property, or expanding your commercial portfolio, I’m here to make the process smooth, strategic, and successful.
As co-lead of The Hickox Team with my fiancé Evelyn—an incredible Realtor and partner in every sense—we combine our strengths to deliver a real estate experience that’s both heart-led and results-driven. Together, we bring creativity, clarity, and commitment to the table every step of the way.
Outside of real estate, I enjoy staying active, volunteering, spending time with family, and being part of a community I truly care about.
Let’s connect—I’d be honored to help you take the next step with confidence.
Call me at 912-596-4261
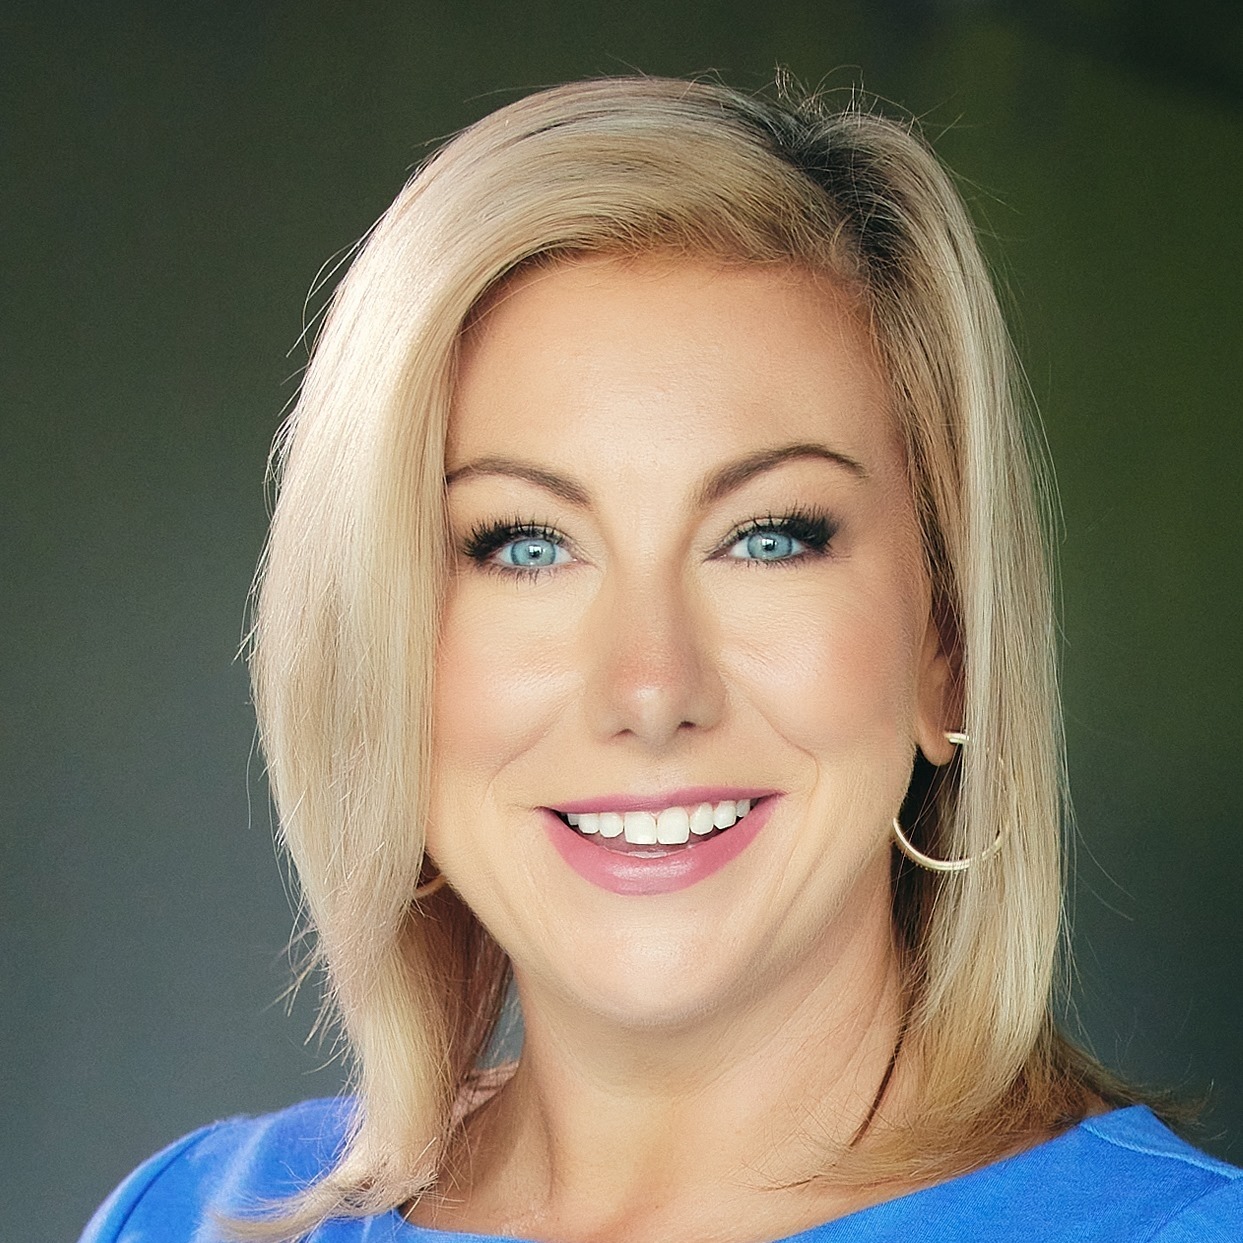
Meet Evelyn
Hi, I’m Evelyn Forston —a people-oriented, house-obsessed, dog-loving soul!💛🏡🐾
I'm a Realtor, Advisor and Associate Broker serving both Residential and Commercial Real Estate clients across Georgia and Alabama. I believe Real Estate is more than closings and contracts—it’s about connection, service, and walking with people through some of life’s biggest milestones.
I don't just sell properties—I shepherd people through meaningful life transitions with my professional partner, who is also my fiancé- David Hickox.
Whether I’m helping a family buy their first home, assisting an investor with a new commercial venture, or supporting someone in a major life transition, I treat every client with care, strategy, and heart. My experience spans residential and commercial sales, multi-family, single-family, and property management—which means I can offer smart advice, creative solutions, and real results.
I grew up in the Chattahoochee Valley and proudly graduated from both Brookstone School and Columbus State University. I love this community deeply and it shows in how I live and serve. I’m a 2022 East Alabama Leadership graduate, a member of the East Alabama Board of Realtors, a 2025 “star” for the Alzheimer’s Association Dancing Stars of Columbus, and I serve as the 2025 Entertainment Committee Chair for the Columbus Board of Realtors.
I live, work, and thrive in the Columbus, GA / Phenix City, AL area with my fiancé and real estate partner, David Hickox. We love helping people turn dreams into keys and investments into income.
My Mission
To create a Real Estate experience that’s not just successful—but supportive, empowering, and even a little bit fun. I want every client to feel heard, cared for, and confident from day one to closing day (and beyond!). I'll be your advisor and friend!
How I Can Help
Buying or selling Residential or Commercial Real Estate. Relocating with ease. Downsizing or upsizing strategically. Leasing or listing commercial properties. Supporting first-time buyers and seasoned investors alike. Navigating transitions with compassion and clarity.
I find deep joy in helping others. Whether I’m matching clients with their dream space or sneaking a treat to a four-legged friend, I lead with heart, faith, and a whole lot of enthusiasm.
If you’re looking for a Realtor who is experienced, loves people, and leads with heart—I’m your girl. Let’s make your next move your best one yet.
Call me at 205-901-6756
I'd be honored to put my over 15 years of multiple aspects of Real Estate experience to work for you!
💫 Explore what’s happening in the area:
Chattahoochee Valley Living Calendar
#ResidentialAndCommercial #RealtorLife #Teamwork #YourNextMoveStartsHere
Keller Williams Realty River Cities-Official